Hello Ningbo Huiho Cosmetics Packaging Co., Ltd. - China Mascara Tubes Packaging Manufacturers


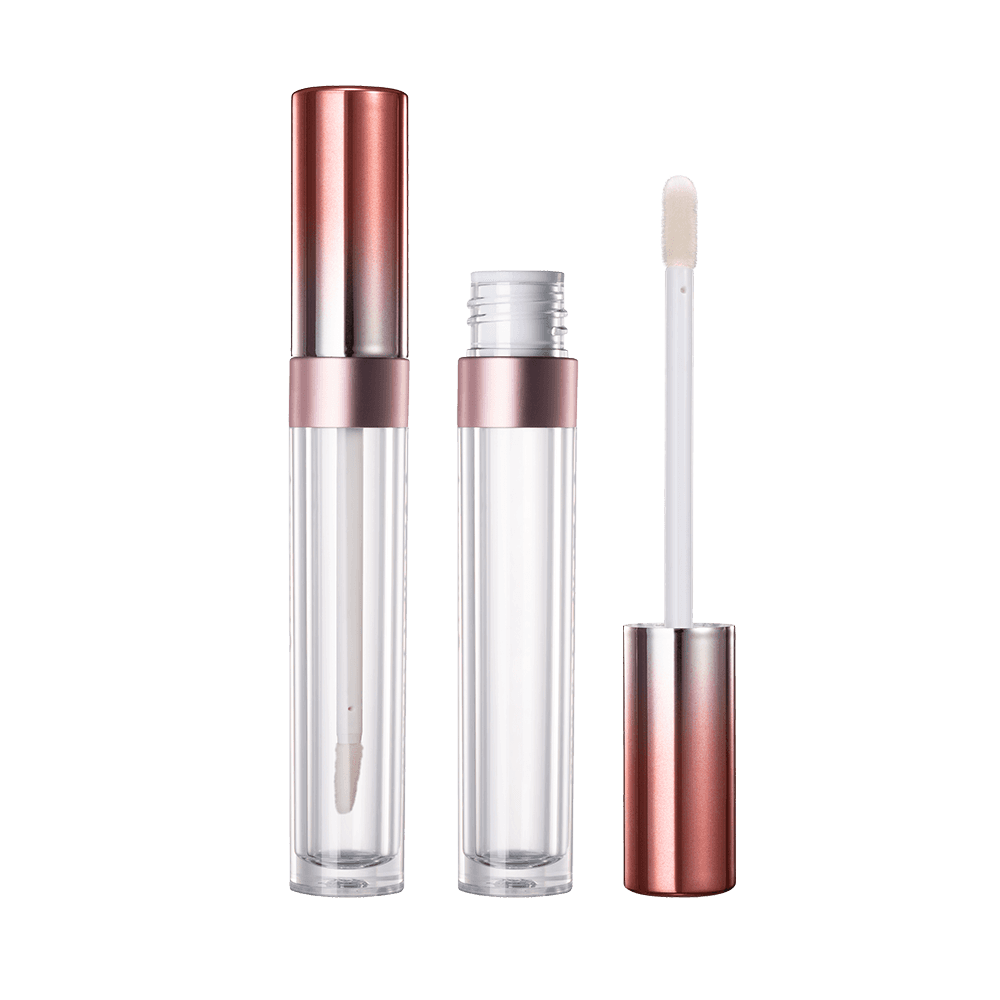
You can fill lip gloss tubes without a syringe by using a disposable piping bag, a small funnel, or a controlled pour method with a narrow-spouted container, all of which work well for both small batch hobbyist projects and larger production runs. A piping bag fitted with a small cut tip is generally the most precise alternative, offering control similar to a syringe while being faster to fill and easier to source in bulk. Whichever method is used, working with well-designed Lip Gloss Tubes that have a wide, accessible opening makes the filling process significantly easier regardless of which tool is chosen. The sections below walk through each method step by step, along with tips for avoiding common mistakes like air bubbles and spillage.
Content
A disposable piping bag, the same type used in baking and cake decorating, is one of the most effective syringe alternatives for filling lip gloss tubes, since it allows for controlled, steady dispensing directly into the narrow tube opening without the mess associated with pouring.
For lip gloss formulas with a thinner, more fluid consistency, a small cosmetic funnel can work well, allowing the product to flow directly into the tube through gravity rather than requiring manual pressure. This method works best with gloss that pours easily and holds up poorly for thicker, more viscous formulations that tend to clog a narrow funnel opening.
Warming lip gloss slightly before filling, such as placing the container in a bowl of warm water for a few minutes, can noticeably improve flow through a funnel, since most lip gloss bases become significantly less viscous even with a modest increase in temperature.
For those without access to piping bags or funnels, a controlled pour directly from a container with a narrow spout, such as a small measuring cup or a repurposed squeeze bottle, can work reasonably well with practice, especially for small batch projects where a few extra minutes of careful pouring is not a significant time cost.
Each method has its own strengths depending on batch size, formula thickness, and available tools, so choosing the right one often comes down to matching the method to the specific project at hand.
| Method | Best For | Precision Level |
| Piping Bag | Small to medium batches, thicker formulas | High |
| Funnel | Thin formulas, quick small batches | Moderate |
| Controlled Pour | Occasional home use, single tube fills | Lower, requires practice |
Trapped air bubbles are one of the most common cosmetic issues when filling lip gloss tubes without specialized equipment, since they can create an uneven appearance in the finished product and sometimes affect how smoothly the wand applies the gloss. Slowing down the filling process and allowing brief pauses for bubbles to rise to the surface significantly reduces this issue regardless of which filling method is used.
Even with careful technique, some spillage around the tube opening is common when filling without a syringe, and cleaning this up promptly helps keep the finished product looking professional and prevents the cap from sticking due to dried residue on the threads.
Overfilling is one of the most common mistakes when working without a syringe's precise measurement markings, since it can cause gloss to overflow around the wand when the cap is closed. Leaving a small gap, generally a few millimeters below the tube opening, gives the wand room to displace product without forcing excess gloss up and out of the tube.
For those filling larger quantities of tubes regularly, whether for a small cosmetics business or bulk personal projects, investing in a piping bag dispenser stand or a simple bottle with an adjustable pour spout can significantly speed up the process compared with filling one tube at a time by hand. Using consistently sized Lip Gloss Tubes with a wide, easy-access opening also makes any of these filling methods faster and more reliable across a larger production batch, since uniform tube dimensions reduce the guesswork involved in judging fill levels by eye.